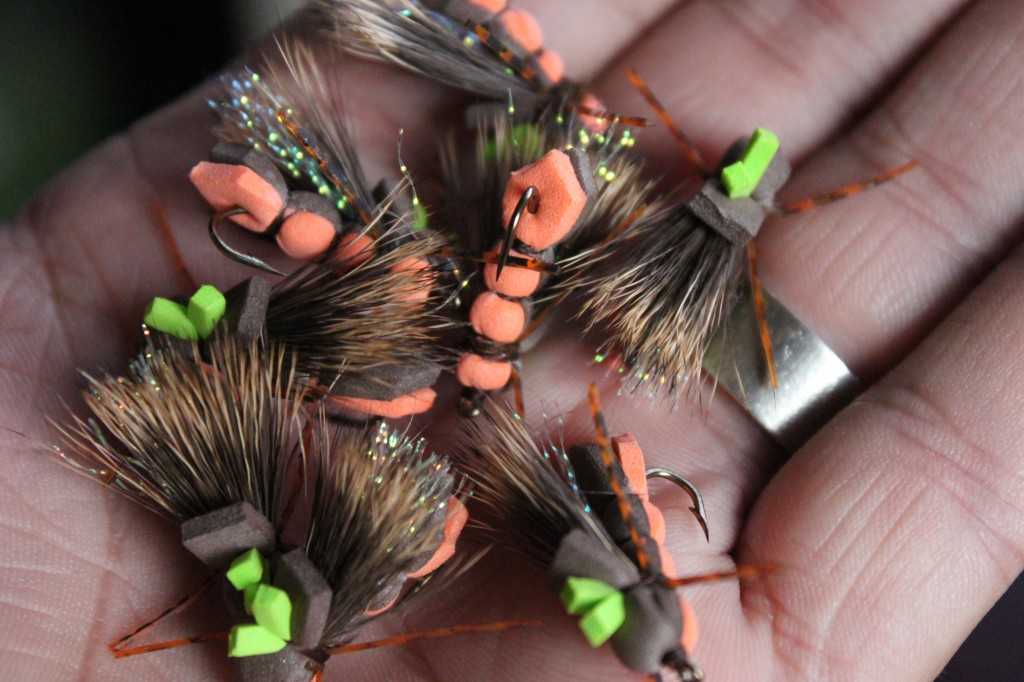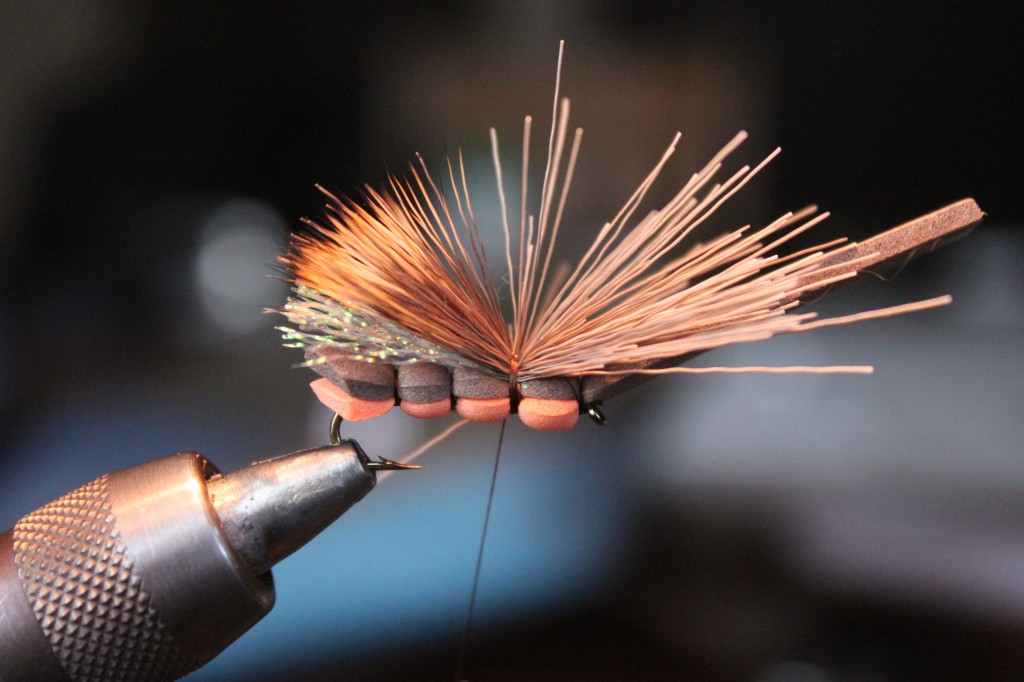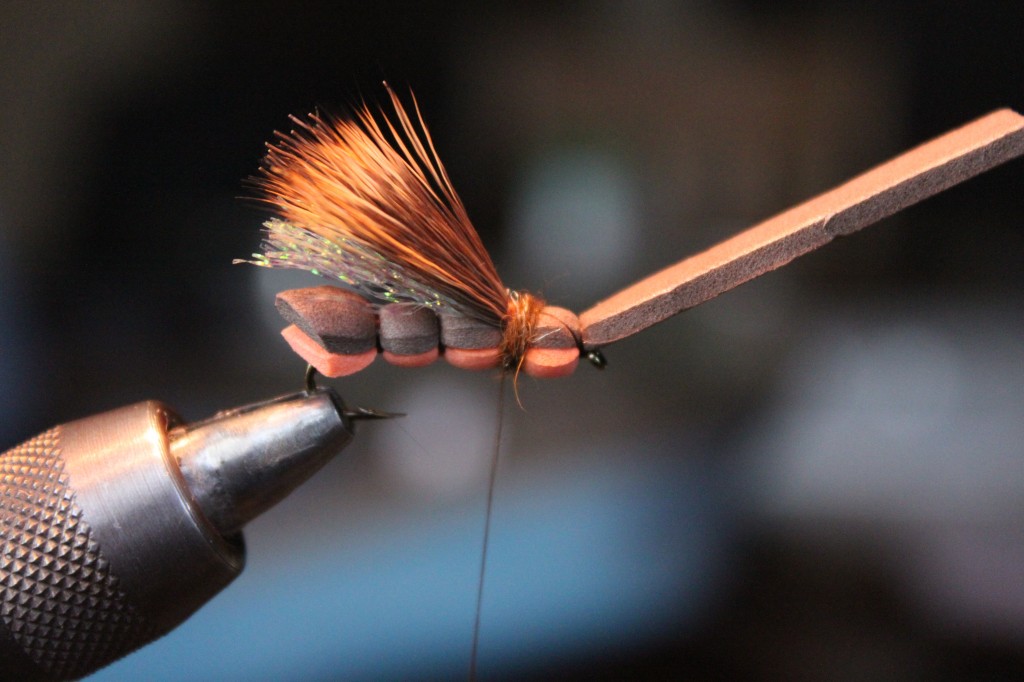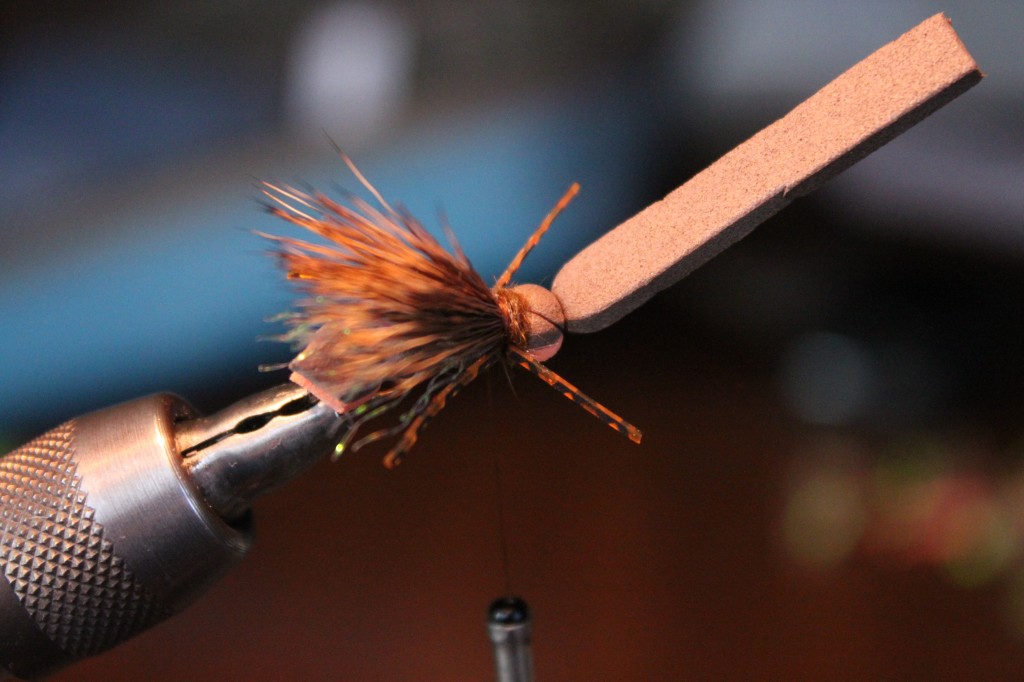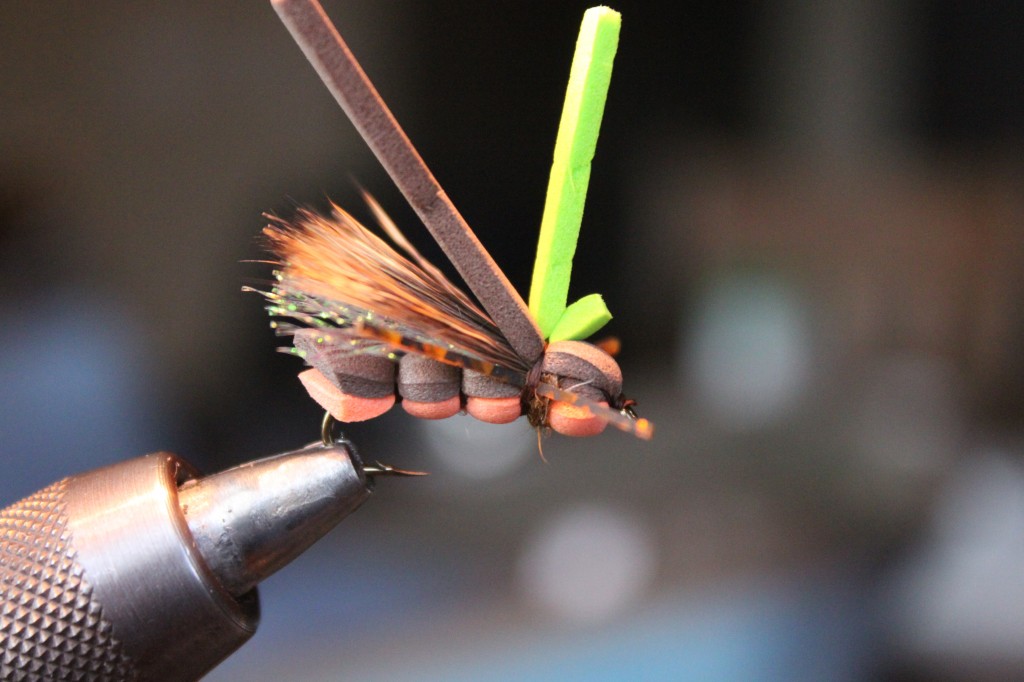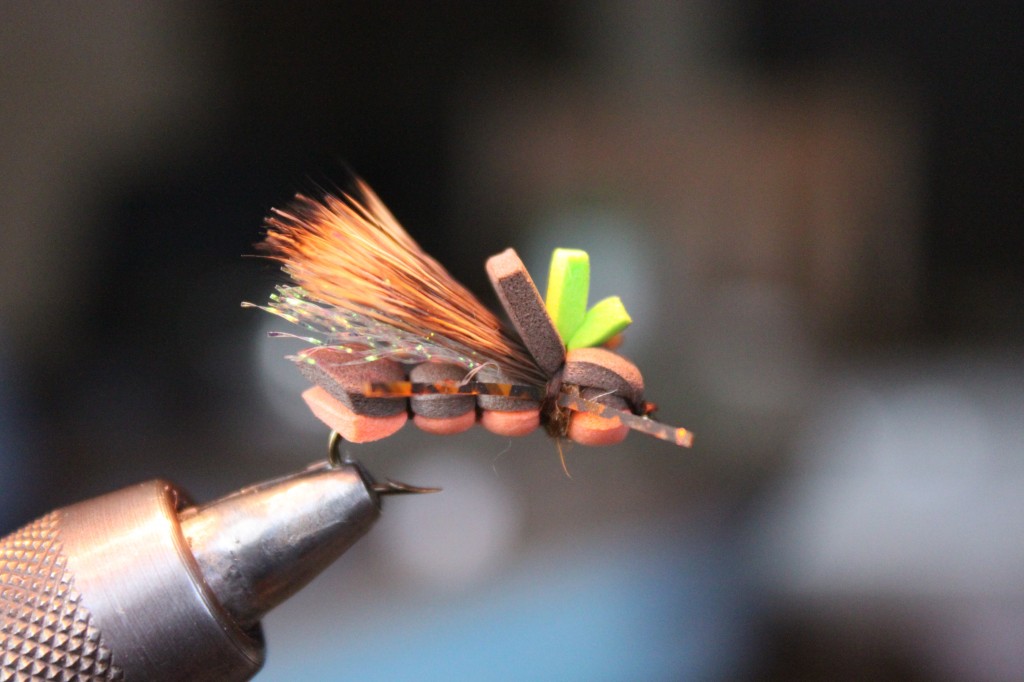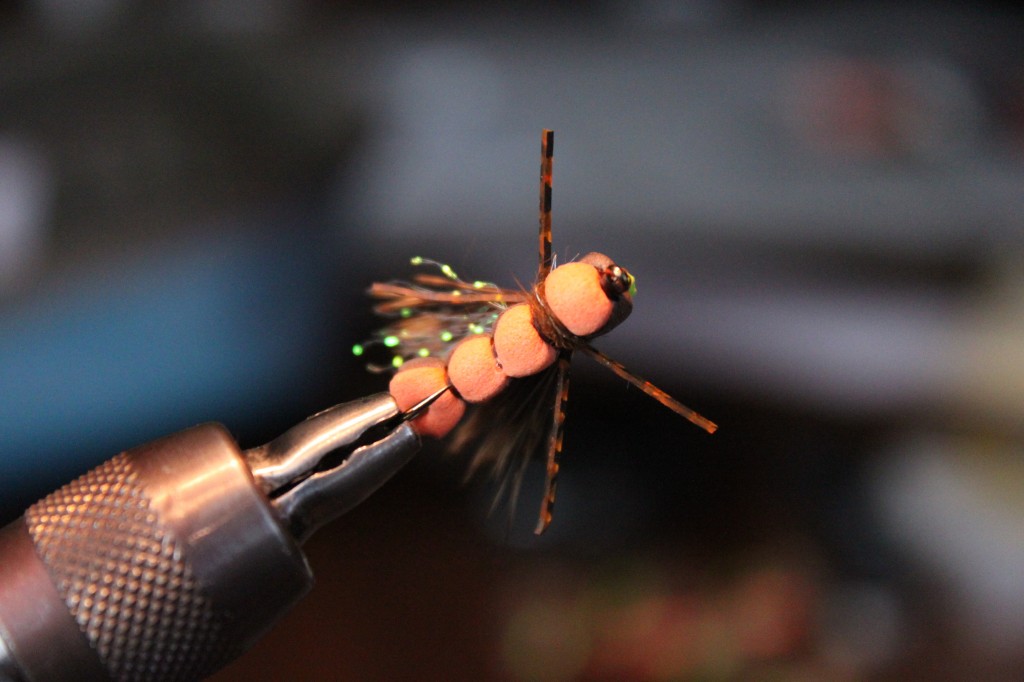
The original Hopper Juan fly was developed by Juan Ramirez from Colorado Springs. When I first started thinking about getting into fly tying, there were two flies that really got me excited to learn, the parachute Adams and the Hopper Juan. Juan’s pattern can be found on his site, the Hopper Juan, with a detailed recipe and material list. I really like this pattern and have had great success with it. I recently tied up a batch for a fly swap on a local forum and was asked for the recipe. The bugs I tied were a variation of the original Hopper Juan. Here is my variation:
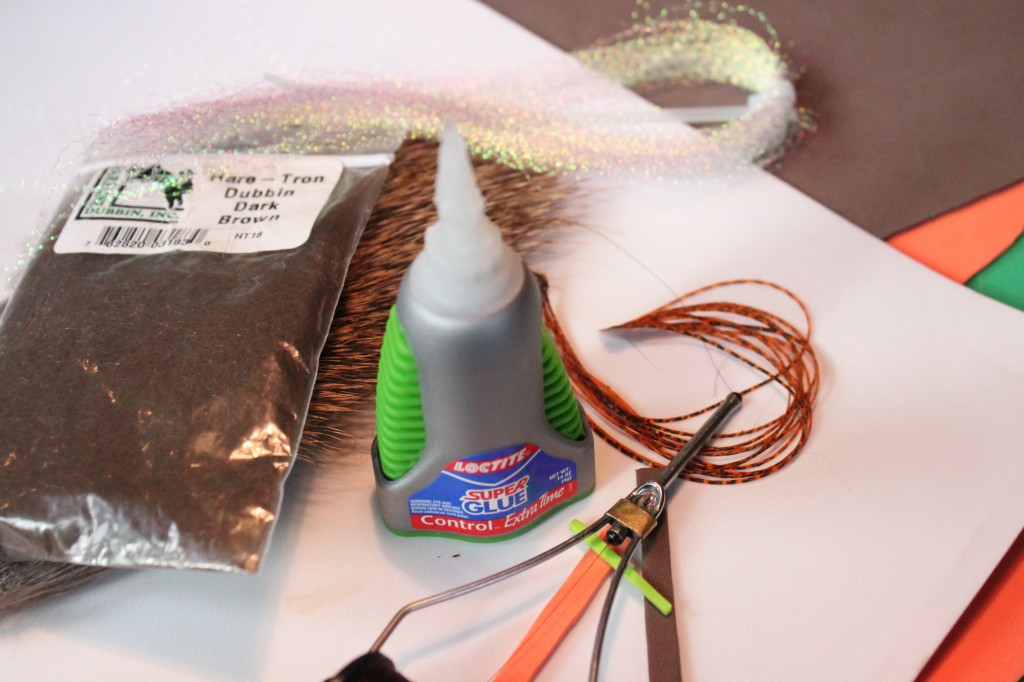
1. Foam – 2-3 colors – bottom, top, indicator (the 2mm stuff from the craft store works just fine)
2. Thread – I like the thread to match the top layer and I really like to use 6/0 Uni-Thread
3. Dubbing – I prefer the Hare-Tron Dubbin, but anything will work
4. Deer Hair
5. Super Glue
6. Leg material
7. Something sparkly for the underwing – I use Krystal Flash because that is what I have…
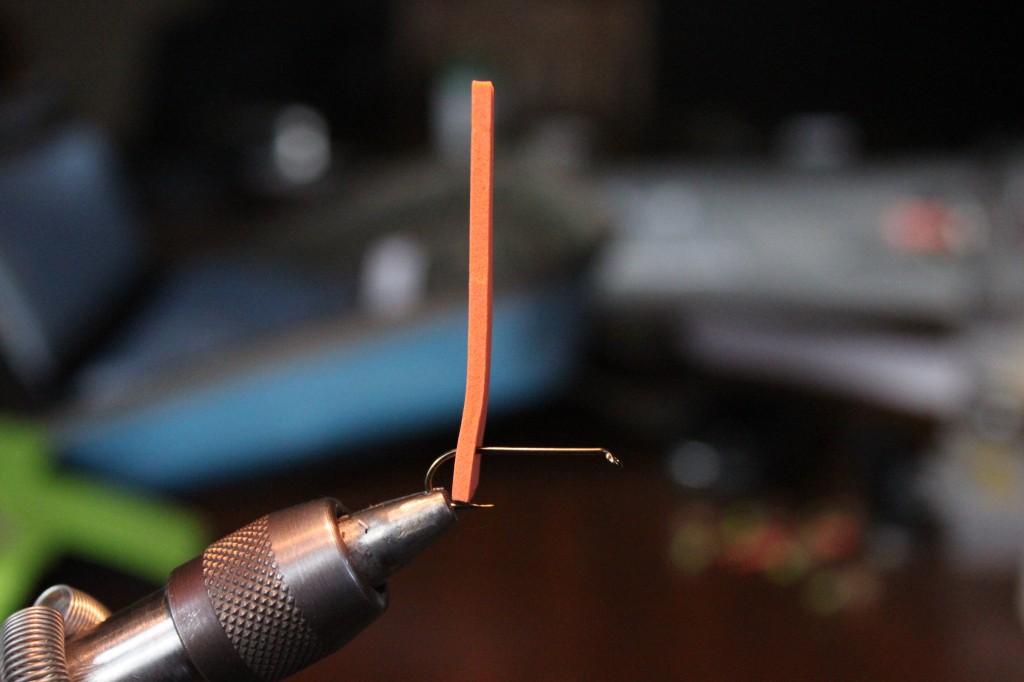
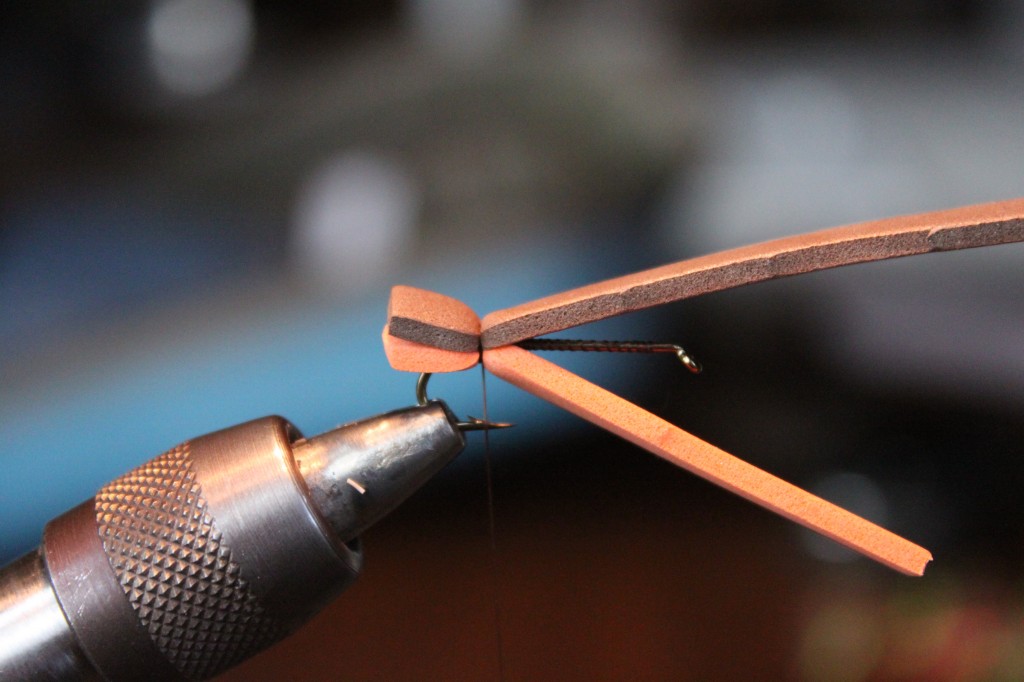
Take your bottom piece of foam cut in a 1/4 inch wide strip. Pierce it onto the hook shank.
Tie on thread and secure the bottom layer of foam to at the back of the hook. Add a drop of superglue right on the thread and foam.
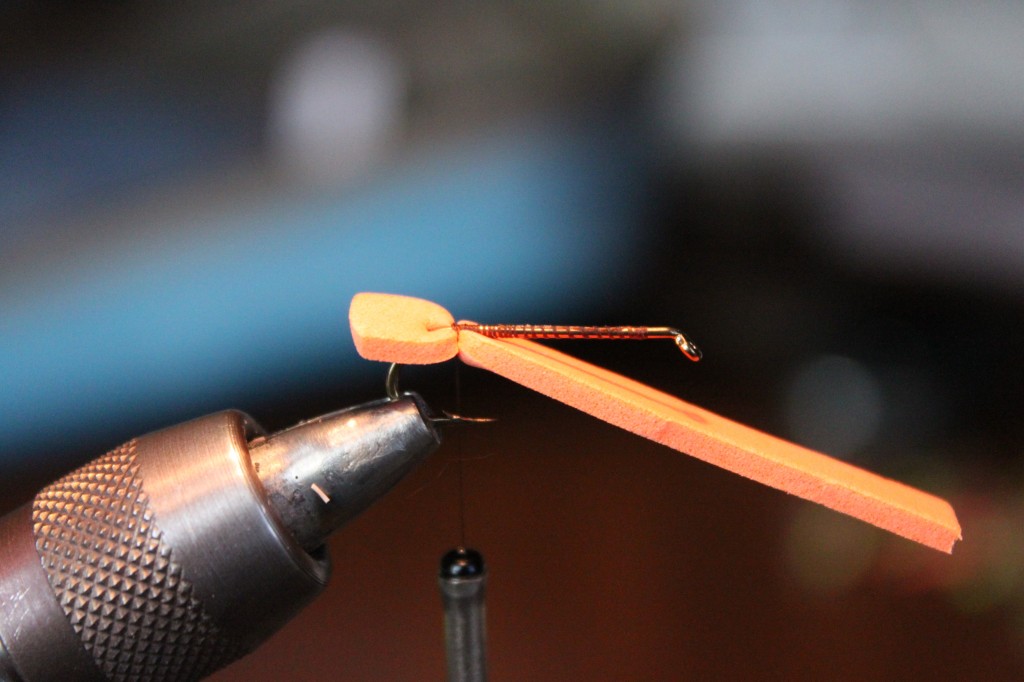
Tie in top foam with 3-4 wraps.
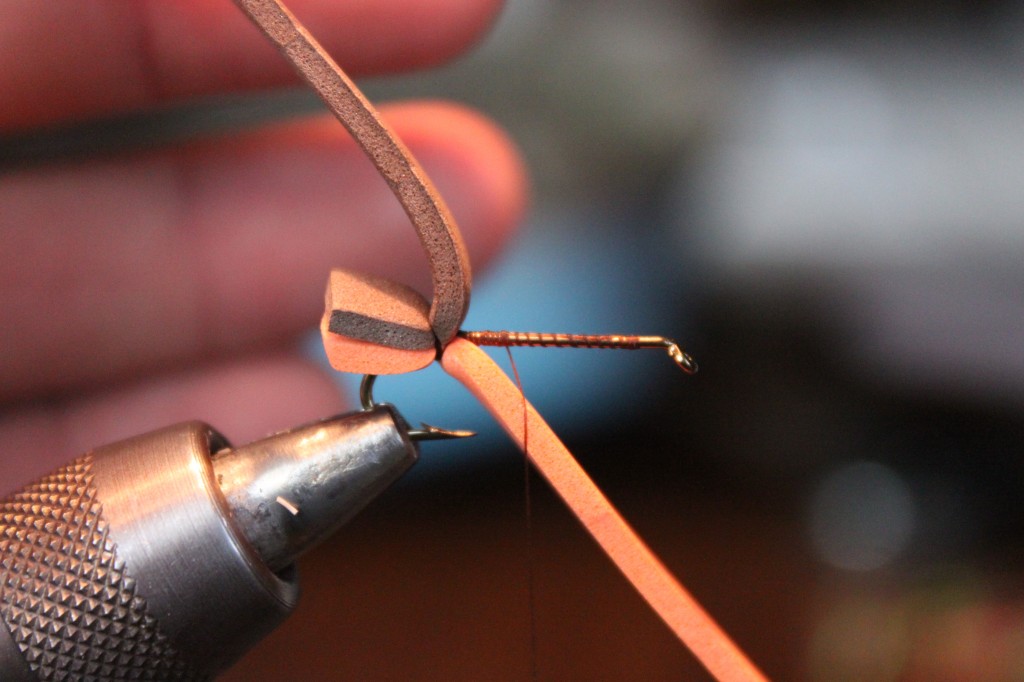
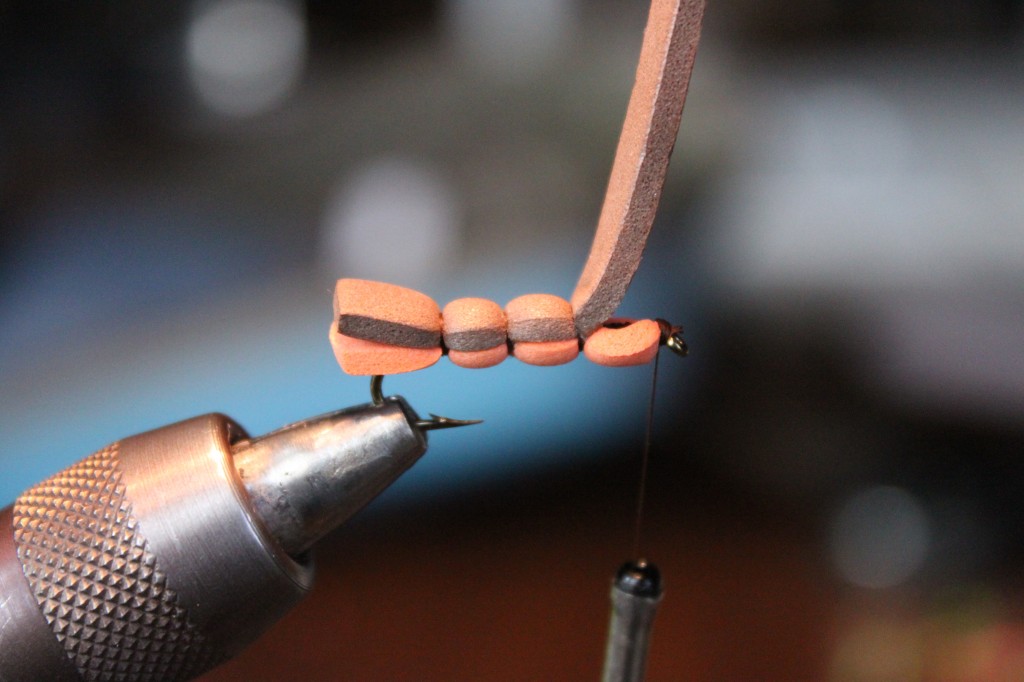
Open those two pieces of foam up and wind thread forward. This takes some forward thinking because ultimately you are going to have three body segments ahead of you. Make sure you space it evenly so that all the segments are the same size.
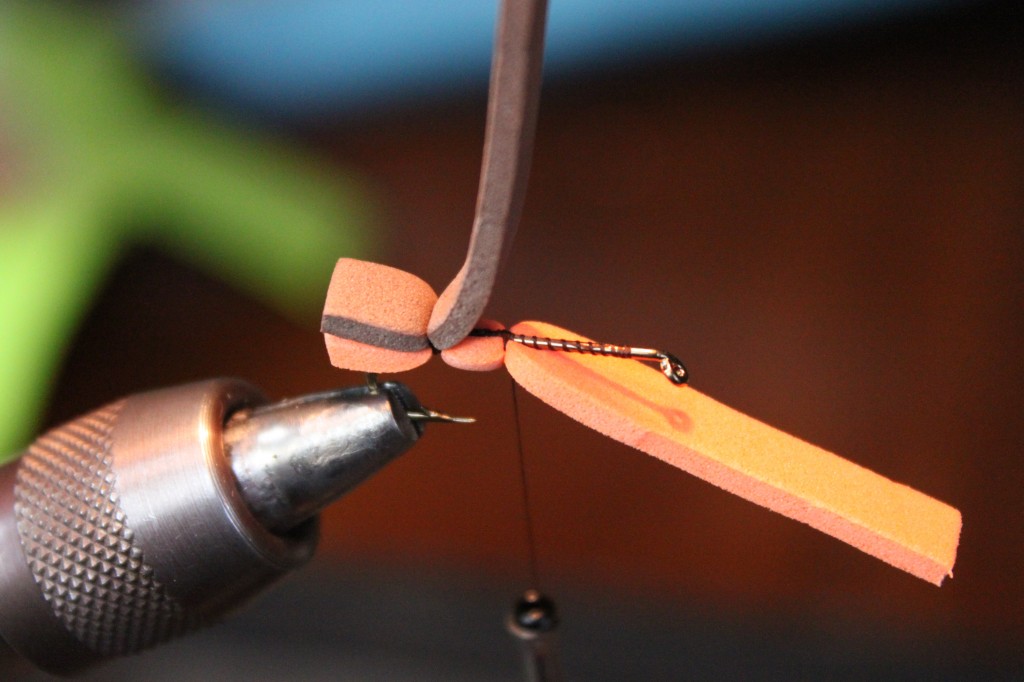
Secure bottom layer of foam with a couple of wraps and drop a dab of superglue in the cup-like area that you just created. Then tie in the top layer.
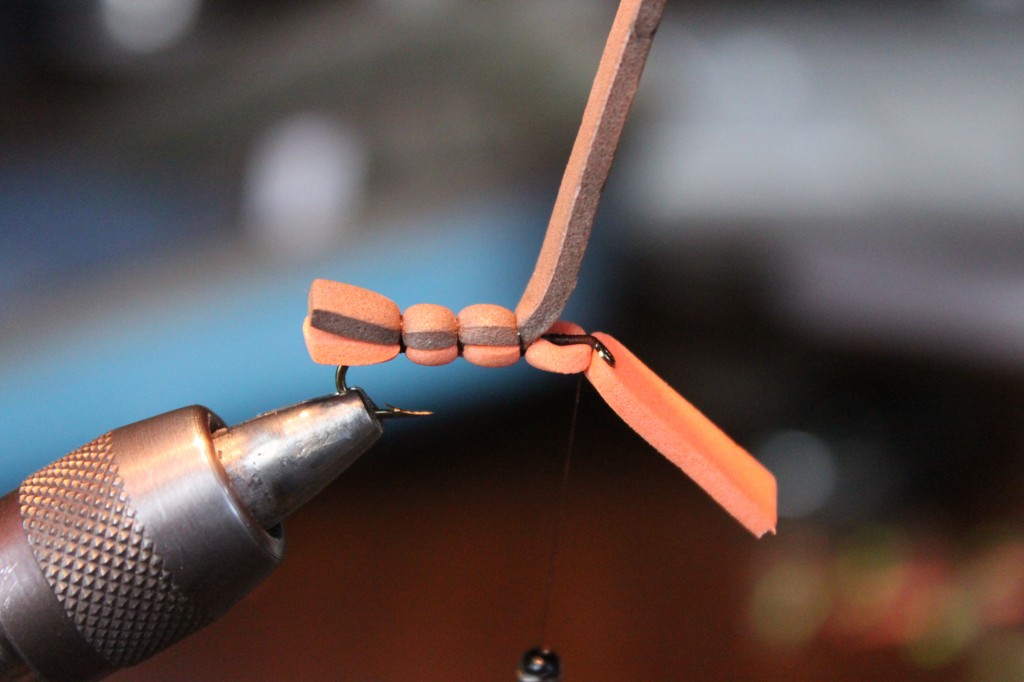
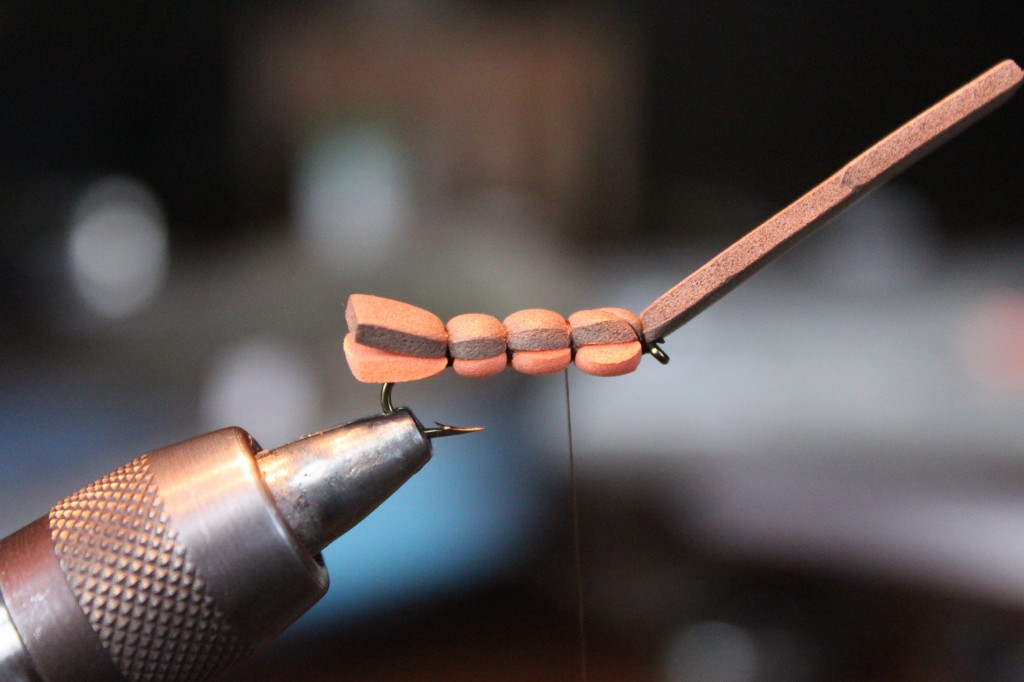
Repeat until you reach just behind the eye of the hook. Firmly secure the bottom layer of foam.
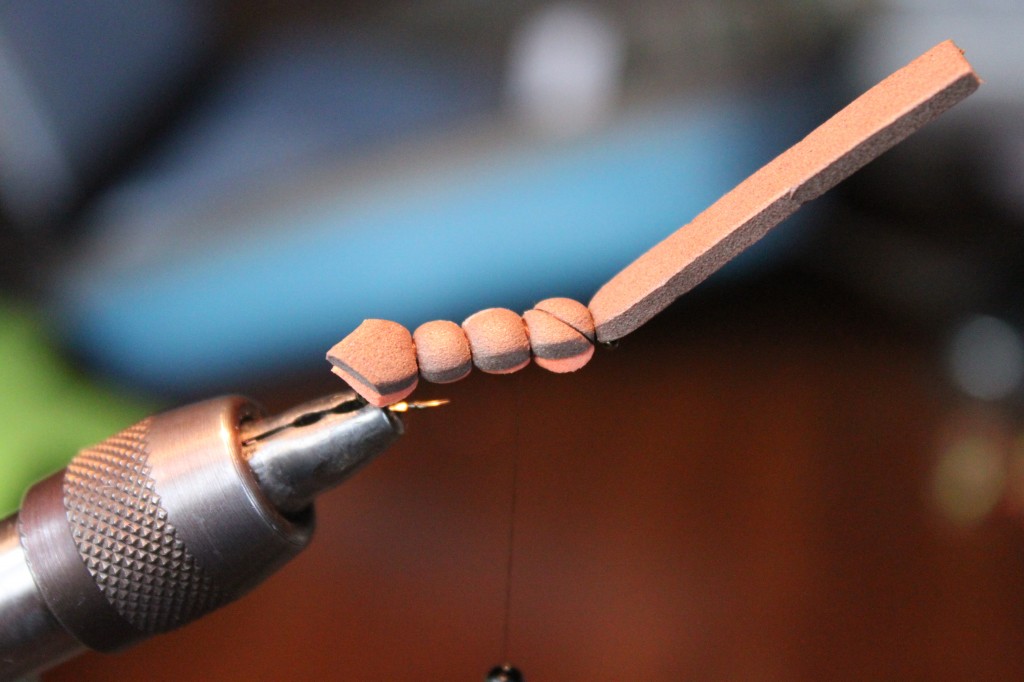
Carefully and as close as you can, cut the bottom layer of foam and cover the extra foam with thread wraps.
Tie in the top layer but do not cut it.
Wrap back to the last body segment with one cross wrap. this is usually the best time to trim the tail. (I have no idea if the tail should be cut like this, but I think it makes it look nice…)
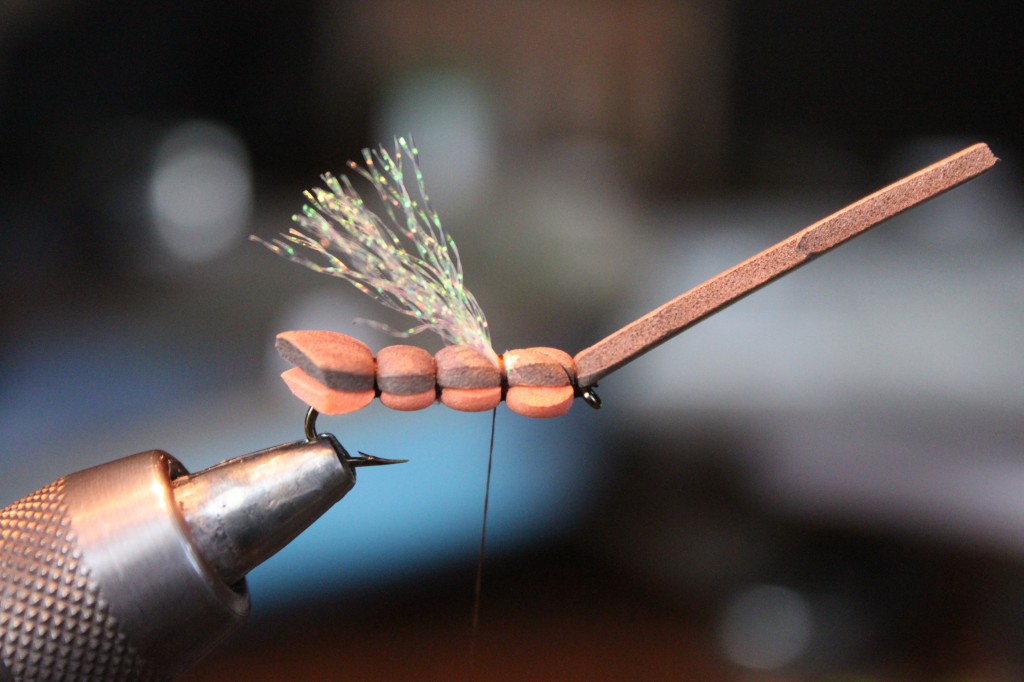
Note: At this point, all the rest of your material will be tied in at this point. Try to limit the amount of wraps because it will get bulky real quick.
Tie in Krystal Flash (or whatever other flash material you have).
Tie in deer hair.
Trim and had dubbing. (Dubbing hides a multitude of sins…)
Add your legs. Right here I add one more drop of glue in the dubbing and on the exposed foam.
Bring back your top layer of foam and secure with 1-2 wraps then add in a very thin piece of bright foam as your indicator. You can whip finish right there in the foam or you can take the thread back up to the eye of the hook. I think the whip finish in the foam works just fine. Trim foam.
What you have is a bullet-proof bug that will float all day, catch fish, and act as an indicator for any dropper you throw underneath it. A quality fly created by a quality tier. I have tied up a bunch and look forward to throwing these on the Deschutes during my upcoming trip. Thanks Juan for a great bug.
The post The Easy Hopper Juan: My variation and tutorial appeared first on Arizona Wanderings.
